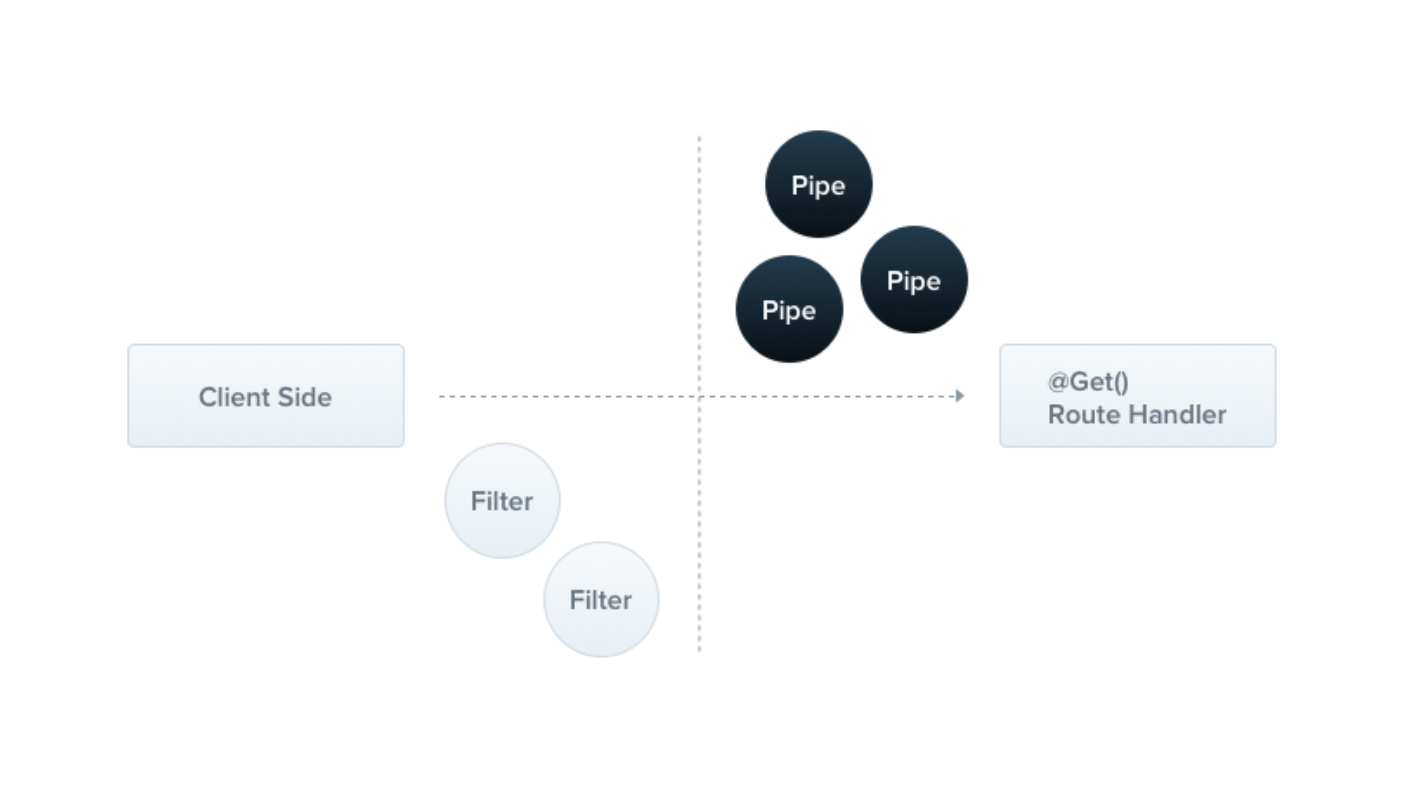
파이프(pipes)는 @Injectable() 데코레이터와 함께 명시되는 클라스이며 PipeTransform 인터페이스를 통해 구현됩니다.

파이프는 두 가지 주된 유형을 갖습니다.
- 변형(transformation): 입력 데이터를 원하는 형식으로 전환(예를 들면, 문자열에서 숫자열로)
- 검증(validation): 입력 데이터가 유효한지 평가하고 예외가 발생하면 오류 메시지를 전송
두 가지 경우에서 파이프는 컨트롤러 라우트 핸들러에서 처리되고 있는 arguments 위에서 작동합니다. Nest는 메소드 호출 전에 파이프를 끼워넣고, 파이프는 메소드에게 전달되는 아규먼트를 받아서 처리합니다. 파이프가 변형 또는 검증을 마치면 이후 라우트 핸들러가 작동합니다.
Nest는 다음과 같은 다양한 기본 파이프들을 제공합니다.
ValidationPipeParseIntPipeParseFloatPipeParseBoolPipeParseArrayPipeParseUUIDPipeParseEnumPipeDefaultValuePipeParseFilePipe
파이프 연결하기
파이프를 사용하려면 파이프 클래스 인스턴스를 삽입해줘야 합니다. ParseIntPipe 사용을 예시로 살펴보겠습니다. 이를 특정한 라우트 핸들러 메소드와 연결하려면, 메소드가 호출되기 전에 해당 파이프가 실행되도록 해야 합니다.
@Get(':id')
async findOne(@Param('id', ParseIntPipe) id: numbre) {
    return this.catsService.findOne(id);
}
이렇게 하면 id에 1이라는 숫자를 담아 전송했을 때 '1'이라는 문자가 되는 상황에서, 이를 다시 숫자인 1로 바꿔줄 수 있습니다.
또는 만약 다음과 같은 요청이 들어온다고 해보겠습니다.
GET localhost:3000/abc이 경우 유효성 검사를 통과하지 못하며 다음과 같은 오류 메시지가 반환됩니다.
{
  "statusCode": 400,
  "message": "Validation failed (numeric string is expected)",
  "error": "Bad Request"
}
클래스 밸리데이터 사용하기
class-validator 라이브러리를 사용하면 데코레이터 기반 검증을 진행할 수 있습니다. 이를 Nest와 결합하면 아주 유용합니다. 먼저, 패키지를 설치합니다.
$ npm i --save class-validator class-transformer설치 이후 CreateCatDto 클래스에 몇 가지 데코레이터를 추가할 수 있습니다.
// create-cat.dto.ts

import { IsString, IsInt } from 'class-validator';

export class CreateCatDto {
  @IsString()
  name: string;

  @IsInt()
  age: number;

  @IsString()
  breed: string;
}
이제 다음과 같이 ValidationPipe 클래스를 생성할 수 있습니다.
// validation.pipe.ts

import { PipeTransform, Injectable, ArgumentMetadata, BadRequestException } from '@nestjs/common';
import { validate } from 'class-validator';
import { plainToInstance } from 'class-transformer';

@Injectable()
export class ValidationPipe implements PipeTransform<any> {
  async transform(value: any, { metatype }: ArgumentMetadata) {
    if (!metatype || !this.toValidate(metatype)) {
      return value;
    }
    const object = plainToInstance(metatype, value);
    const errors = await validate(object);
    if (errors.length > 0) {
      throw new BadRequestException('Validation failed');
    }
    return value;
  }

  private toValidate(metatype: Function): boolean {
    const types: Function[] = [String, Boolean, Number, Array, Object];
    return !types.includes(metatype);
  }
}
이제 이를 컨트롤러에 삽입하여 사용할 수 있습니다.
// cats.controller.ts

@Post()
async create(
    @Body(new ValidationPipe()) createCatDto: CreateCatDto,
 ) {
     this.catsService.create(createCatDto);
 }
참고 자료
'개발 > NestJS' 카테고리의 다른 글
| NestJS 기초 (11) API 문서 작성하기 (스웨거) (0) | 2022.10.10 |
|---|---|
| NestJS 기초 (9) 예외 처리 (0) | 2022.10.09 |
| NestJS 기초 (8) 미들웨어 (0) | 2022.10.07 |
